A UHF wireless microphone system allows users to transmit audio without a physical microphone cable. It is widely used in conferences, live performances, churches, schools, events, KTV rooms, and professional sound systems.
Although different systems may vary slightly, connecting a UHF wireless microphone normally involves four main parts: the microphone transmitter, wireless receiver, mixer or amplifier, and speakers.

1. Check the Wireless Microphone System
Before installation, make sure you have the required equipment:
● UHF wireless microphone or bodypack transmitter
● Wireless microphone receiver
● Receiver power adapter
● Audio cable
● Mixer, amplifier, powered speaker, or audio processor
● Batteries for the microphone or transmitter
For applications that require two microphones at the same time, a UHF dual channel wireless microphone system allows two transmitters to operate through one receiver, helping simplify equipment setup.
2. Connect the Receiver to Power
Place the wireless receiver near your mixer or audio equipment.
Connect the supplied power adapter to the receiver and turn it on. If the receiver uses external antennas, install and position them correctly before use.
For better wireless reception, avoid placing the receiver inside a closed metal cabinet or directly beside large electronic equipment.
3. Connect the Receiver to the Audio System
The next step is connecting the wireless receiver output to your sound system.
Most professional UHF receivers provide one or both of the following outputs:
● XLR balanced output
● 6.35 mm audio output
An XLR connection is generally preferred for professional sound systems because balanced audio connections can help reduce interference over longer cable distances.
Connect the receiver output to a microphone or line input on your mixer.
If you are using a powered speaker without a mixer, the receiver may also be connected directly to the appropriate audio input on the speaker.
Always check whether the output and input are designed for microphone level or line level before adjusting gain.
4. Turn On the Wireless Microphone
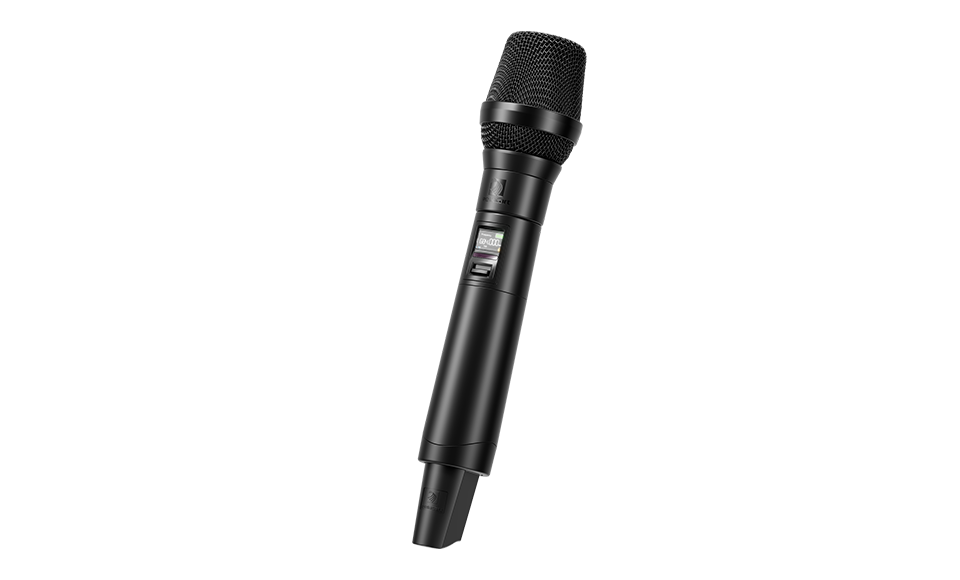
Install fresh batteries in the handheld microphone or bodypack transmitter.
Turn on the transmitter and confirm that the display or indicator is operating normally.
The transmitter and receiver must operate on the same frequency or compatible channel.
Many modern UHF wireless microphone systems provide automatic frequency synchronization, infrared synchronization, or channel scanning. If available, use these functions to quickly match the transmitter with the receiver.
After synchronization, the receiver should indicate that an RF signal has been detected.
5. Test the Audio Signal
Speak into the microphone while checking the receiver and mixer.
You should normally see an audio or AF signal on the receiver when speaking.
Slowly increase the mixer gain and channel volume until the microphone reaches an appropriate sound level.
Avoid immediately setting the receiver output, mixer gain, or speaker volume to maximum. Excessive gain can cause distortion, noise, or acoustic feedback.
A practical signal path is:
Wireless Microphone → UHF Receiver → Mixer → Amplifier or Powered Speaker
6. Select a Clear UHF Frequency
Wireless microphone performance depends heavily on frequency selection.
If the signal drops out, produces noise, or becomes unstable, interference may be coming from another wireless device operating nearby.
Use the receiver's frequency scan function, if available, to locate a cleaner operating channel.
When using multiple wireless microphones, each system should normally operate on a different compatible frequency. Avoid manually selecting frequencies that are too close together without checking system compatibility.
7. Position the Receiver Correctly
Receiver position also affects connection stability.
Keep the receiver antennas visible and avoid major physical barriers between the transmitter and receiver.
Metal structures, walls, LED equipment, communication devices, and other RF equipment can sometimes affect wireless transmission.
For larger venues, test the microphone throughout the actual operating area before the event starts.
Common UHF Wireless Microphone Connection Problems
Receiver Has Signal but No Sound
Check the audio cable, receiver output level, mixer channel, mute function, and speaker connection.
Receiver Cannot Detect the Microphone
Confirm that the transmitter and receiver are using the same frequency or synchronized channel.
Sound Cuts In and Out
Try another frequency, reduce physical obstructions, reposition the receiver antennas, and confirm that the transmitter batteries are sufficiently charged.
Microphone Produces Feedback
Reduce microphone gain or speaker volume and avoid pointing the microphone directly toward the loudspeaker.
Conclusion
Connecting a UHF wireless microphone is relatively straightforward once the signal path is understood. Power the receiver, connect it to the mixer or speaker, turn on the transmitter, match the operating frequency, and then adjust the audio gain.
The most important factors are correct frequency matching, proper receiver positioning, suitable gain settings, and interference-free channel selection. Testing the complete system before actual use can help prevent most wireless audio problems.